Aptify 6.0 web interface includes support for the creation of List, Chart, Calendar, Map, Card and Pivot Grid views through the web interface. Additional details on creating views and view types can be found in Using the Viewing System.
Example: Creating a List View
Follow the below steps to create a list View in the Aptify Web interface:
- Open the Service for which you want to create a view and click the More button.
- Select Create View from the drop-down menu.
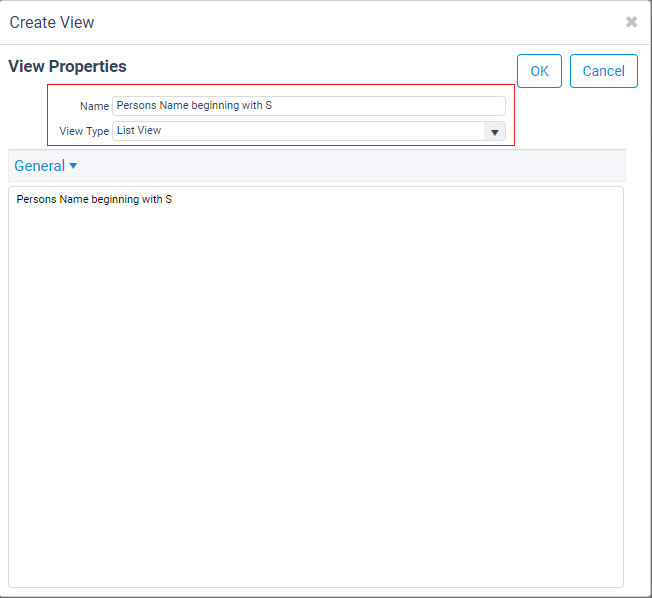
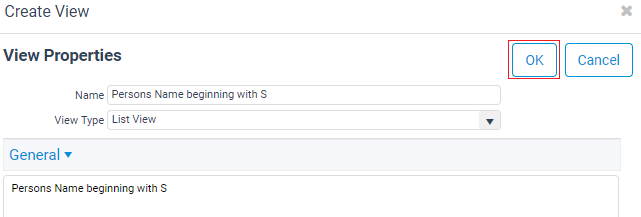
- Enter a name for the view in the Name field, and select List View from the View Type drop-down menu.
- If you want to specify an alternate base view, select Advanced > Configuration from the drop-down and specify it now. Changing to base view later will reset the settings you have already configured.
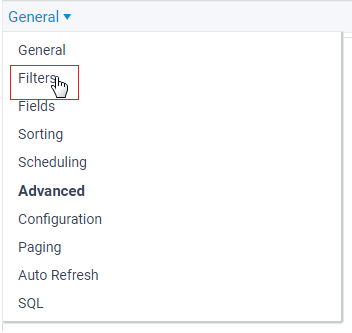
- Select Filters from the drop-down menu.
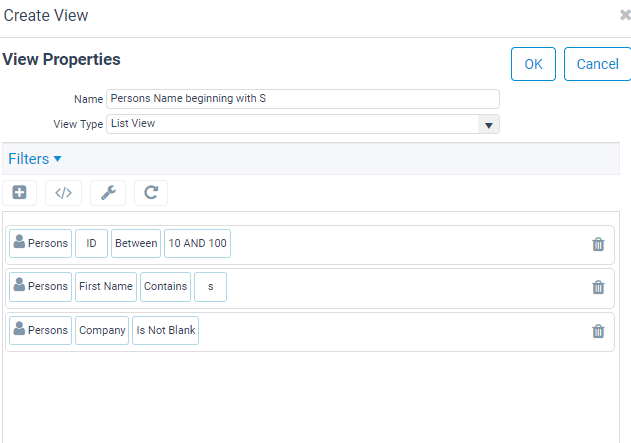
- Create and define Filters by specifying the ID, First Name, and Company.
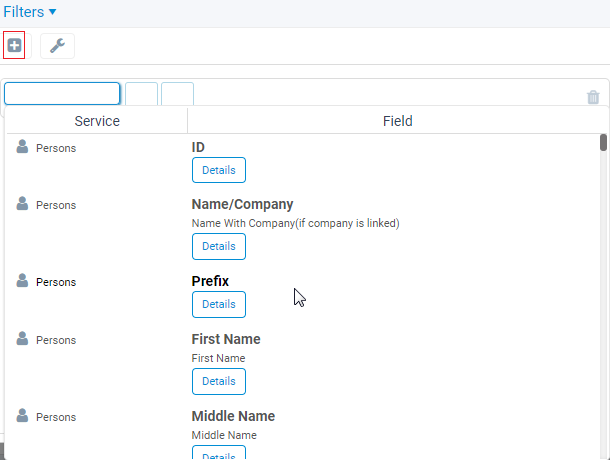
- Click the Add button to create a new line/filter.
- Start typing in the name of the field you want to include and select its field from the list.
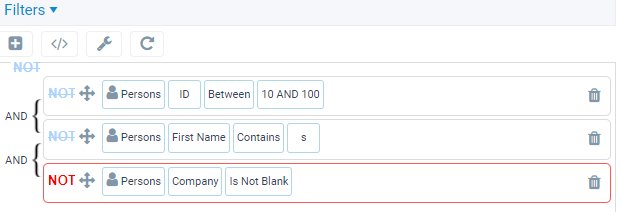
- If you want to combine filters using an OR logic, you can do so by clicking the Logic button and change the logic from AND to OR. Note that if you click the Refresh button, the filter logic will be reset to default (statements combined using AND).
- If you want to combine filters using and AND NOT or AND OR, you can do so by clicking the NOT button on the appropriate filter line. The button will be enabled. To remove the NOT logic, simply click the NOT button to disable it. Note that if you click the Refresh button, the filter logic will be reset to default (statements combined using AND).
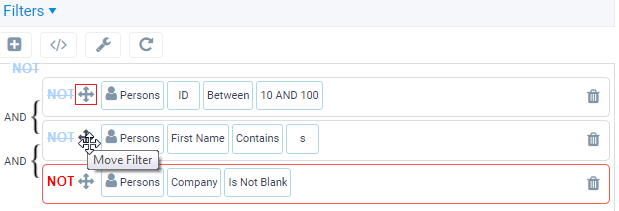
- You can also change the sequence and nesting for filter statements by selecting the Move Filter button on the filter statement you want to move and dragging it to a new location.
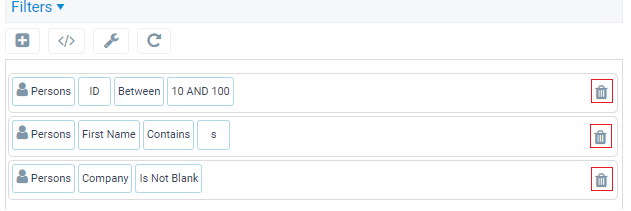
- To delete a filter, click the Delete button at the end of the filter statement.
- Select Fields from the pull-down menu, and select the Fields you want to include in the view.
- The fields that are included by default are displayed in the right column and are fields that are included in the Default In View option for the service's Entities record.
- To remove a field, select the field and drag it to the left column or use the "<" arrow to move it to the left. You can also move all fields at once with the "<<" arrow.
- To add additional fields, select the field and drag it to the right column or use the ">" arrow to move it to the left. You can also move all fields at once with the ">>" arrow.
- To rearrange the order of the fields, select the field you want to move and drag it (up or down) to the appropriate location in the right column.
- Select Sorting from the drop-down menu, to apply default preferences for sorting.
- Create and define Sorting by specifying a Field Name and Sort Order for any criteria you would like to sort.
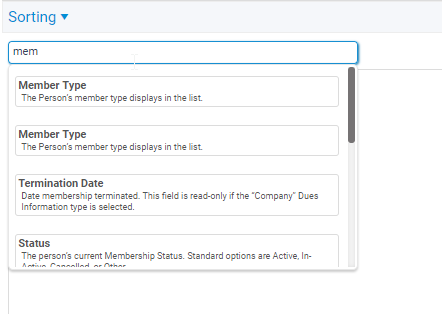
- Start typing in the name of the field you want to sort by and select the appropriate field.
- By default each field is sorted in ascending order, however, you can change the sorting direction by clicking the Sort Order button.
- To delete a filter, click the Delete button at the end of the field.
- Start typing in the name of the field you want to sort by and select the appropriate field.
- If you want the view to run on a specified delay/at a designated time you can do so on the Scheduling tab. See Scheduling a View to Run Automatically for more information.
- Select Advanced > Configuration from the drop-down to do the following configurations:
Entity Base View: If you want the view to use a different base view than the default, specify the alternate base view here.
Note
Changing the base view will clear all any settings that you have configured up to this point so it is recommended to specify the base view you want to use first.
- Form and Record Template: Reserved for future use.
- Preview Template: You can specify the template that appears when using the Preview Pane option. If none is specified, the default template from the entity will be displayed.
- Folder: If you want this view to be part of a view folder, you can specify the folder here.
- Show Preview Pane: This option is disabled, the preview pane is always hidden by default.
- Read Uncommitted: When checked, records that are locked can be read and when unchecked the records are blocked
- Select the Advanced > SQL from the drop-down menu to view the SQL syntax for the view. Note that the SQL is not editable in this version of the Aptify web interface.
- After adding your desired information, click OK to complete and launch your view.
You can also create Prompted views.

