Setup for ScreenPop Feature Support
Follow the below steps to integrate the ScreenPop feature support in Aptify:
The ScreenPop feature is only supported in a Single Web Server and is not supported with servers in a cluster environment.
- Log into Aptify Web Interface with Administrator privileges.
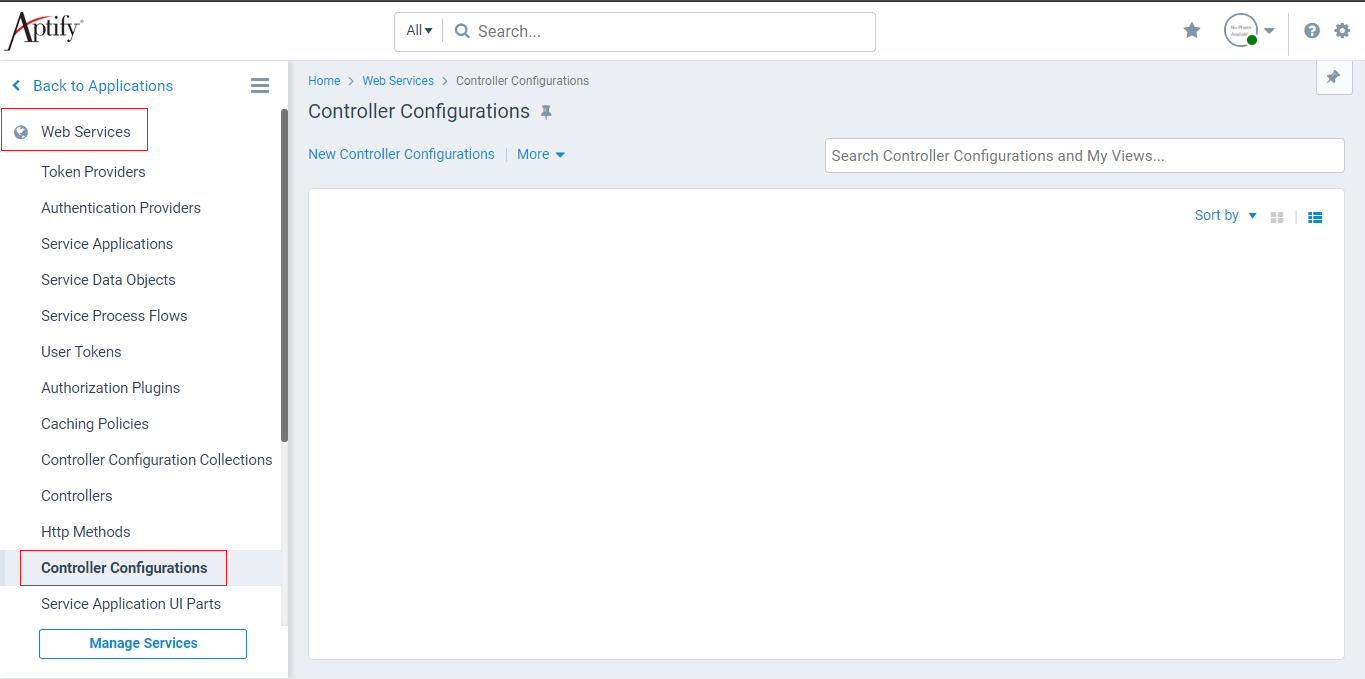
- Navigate to the 'Controller Configurations' service in the 'Web Services' application.
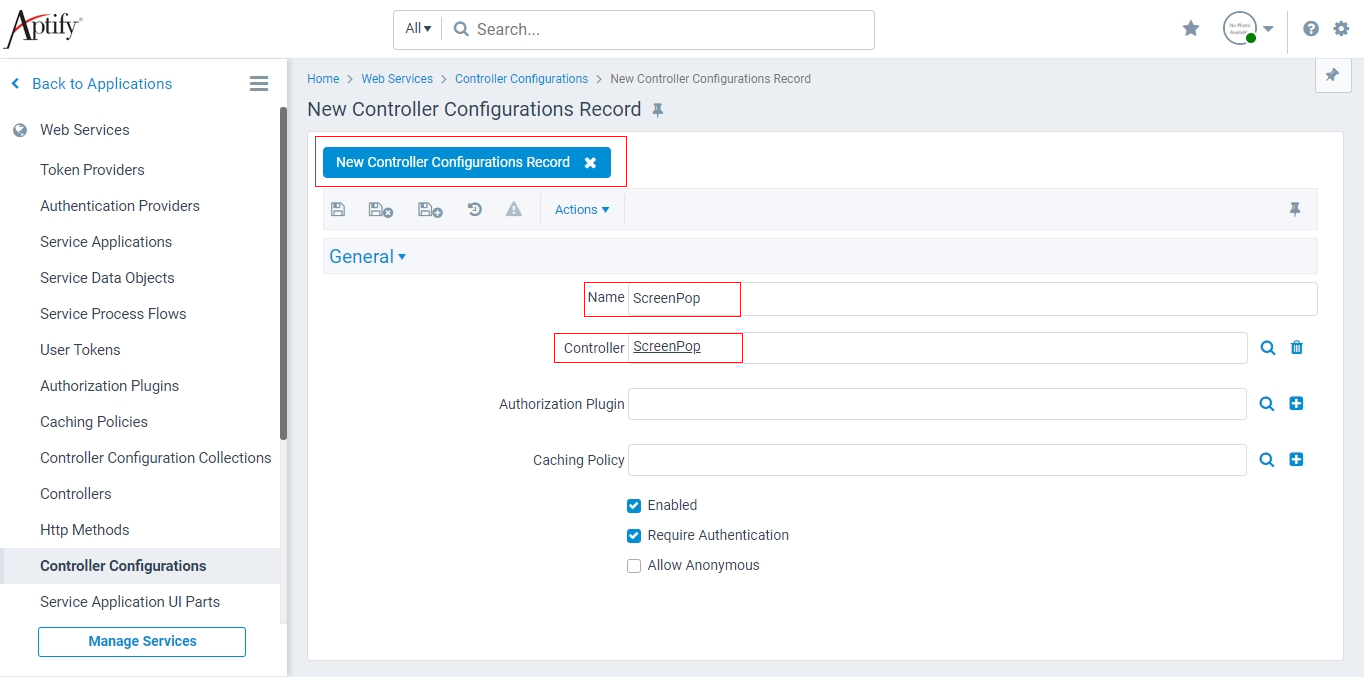
- Open a 'New Controller Configurations Record'.
Enter the Name and Controller details as shown in the below figure.
The Record Name and Controller Name provided in the below figure is an example. The Administrator can define these names as per the requirement.
- Save and close the record.
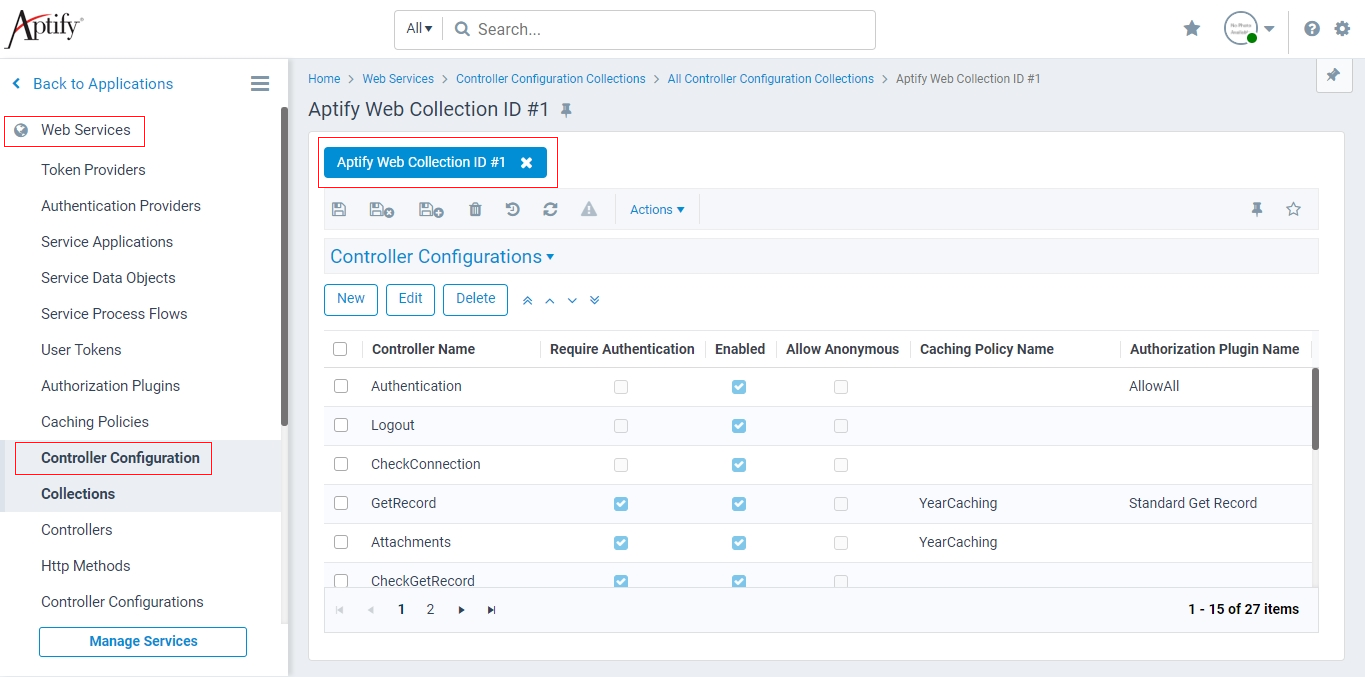
- Open the 'Aptify Web Collection' record from the 'Controller Configuration Collections' service.
- Navigate to the 'Controller Configurations' tab.
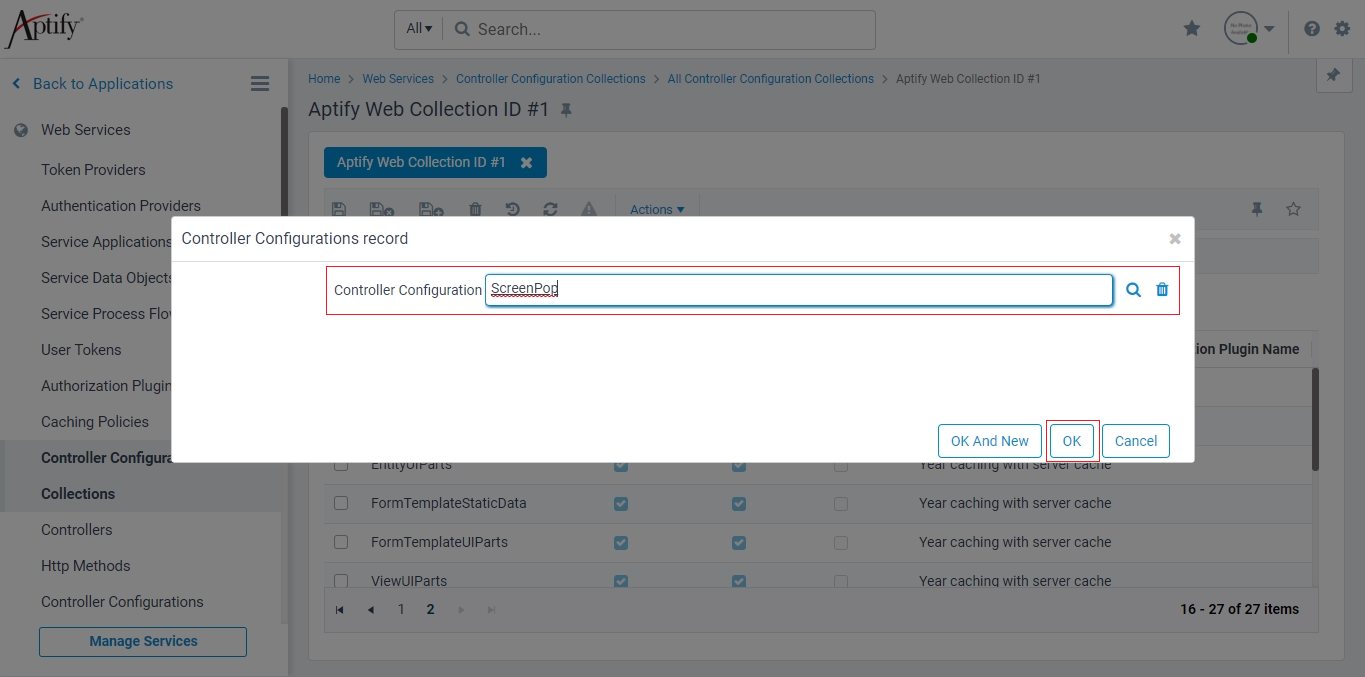
- Click the new 'Controller configuration' record.
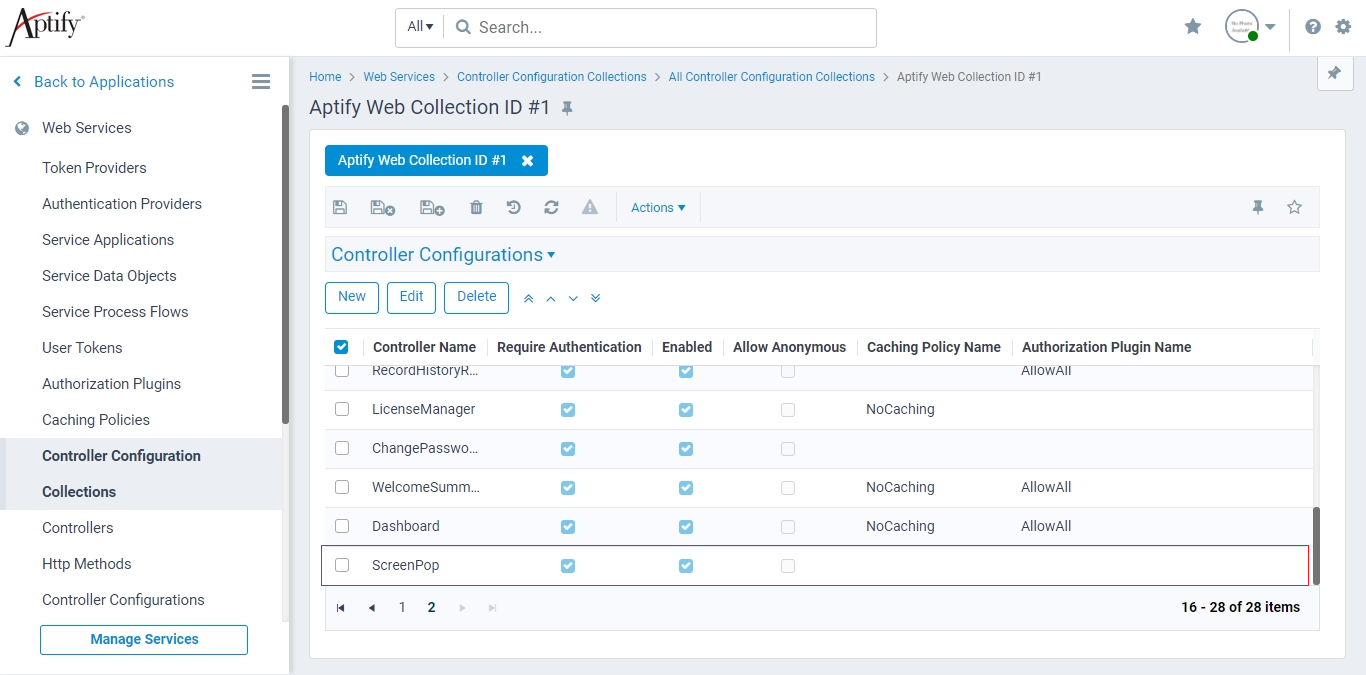
- Insert the 'ScreenPop' controller configuration and click OK.
- The 'ScreenPop' controller configuration is added to the 'Controller Configurations' tab.
- Save and close the 'Aptify Web Collection' record.
- Log into Aptify Desktop Client with Administrator privileges.
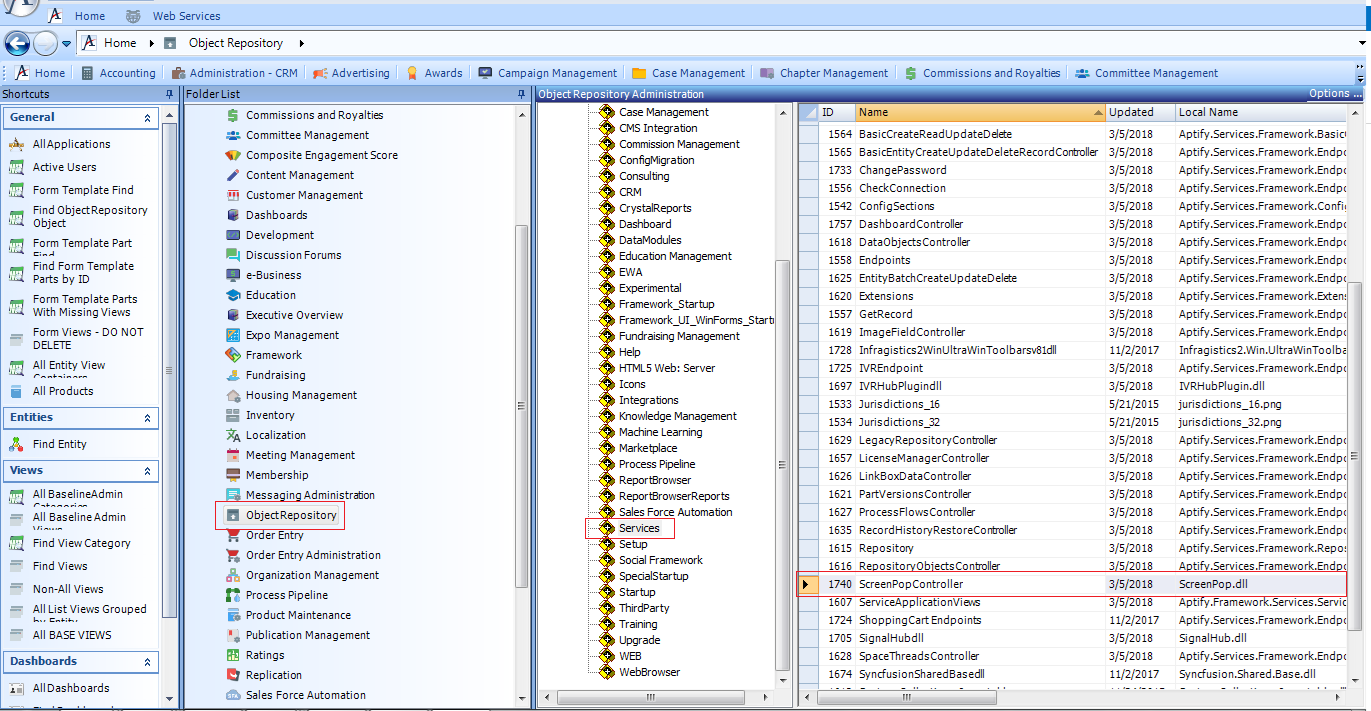
- Navigate to the 'Services' in the 'Object Repository' application.
- Locate the 'ScreenPop' dll in the Object Repository Administration.
- Right-click the 'ScreenPop' dll and download the 'ScreenPop' dll file.
- Navigate to the download path and locate the 'ScreenPop' dll file.
- Relocate the downloaded 'ScreenPop' dll file in the bin folder of your Aptify setup environment. By default the environment path is '<Site directory>/inetpub\wwwroot\AptifyServicesAPI\bin'.
- Stop and Start the Application Pool Services of Aptify application.
