Create Base View using Quick Base View Generator Wizard
Quick Base View Generator wizard is a simplified wizard made available for users with Aptify 6.2 release for quick creation of multiple base view. To know more about multiple base view, see Using Multiple Base Views.
Aptify provides the ability to create base views using the Quick Base View Generator Wizard. Follow the steps given below to create additional base views:
- Log in as an administrative user.
- Go to Framework > Entities and click the Quick Base View Generator Wizard icon () to launch the wizard.
The welcome page appears as below.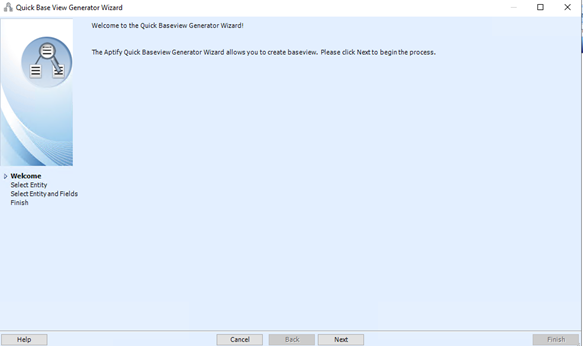
- Click Next.
This step will allow the user to select the top level Entity for which the base view need to be generated.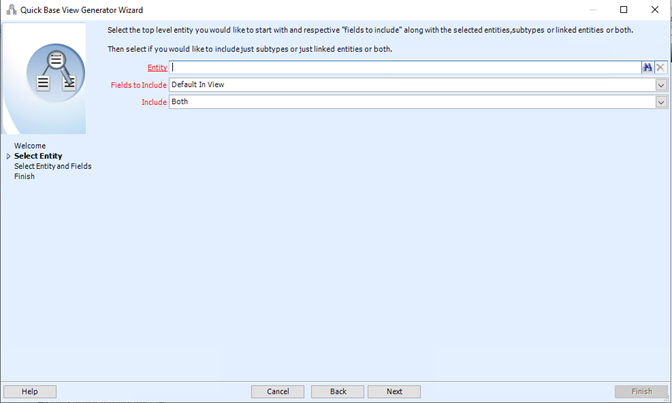
- Enter the name of the top level Entity in which you want to create the base view in the Entity field.
- In Fields to Include dropdown field, select whether you want to include the selected entity’s fields marked as
Default in VieworAll Fields. - In Include dropdown field, select whether you want to include the
selected entity’s subtypesorlinked entitiesorboth. Click Next.
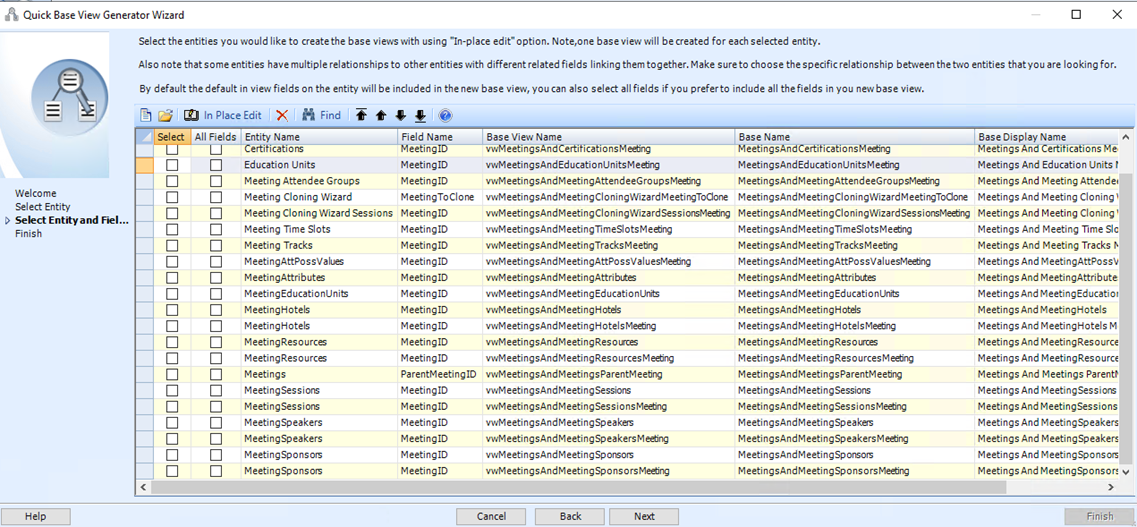 If we have selected the Sub-type option in Include dropdown in the previous step then only the selected Entity’s subtype will be displayed on this page. If the linked Entities option selected, then only linked entities will be displayed in the grid.
Using the In Place Edit option, select the entities you want to create the base view with, along with the selected entity from previous step. You can also double click and open the record to perform the changes.
Note
Please note that one base view will be created for each entity selected below. You can also edit the Base View Name, Base Name or Base Display Name using the In-Place Edit option. Also, some entities have multiple relationships with other entities, with different related fields linking them together. Make sure to choose the appropriate relationship between the two entities that you want to create a base view with.
- By default, if All Fields column is not checked for the selected entity, then the default in view fields will be included in the new base view form. So check ‘All Fields’ option for the selected entity, if you want to include all fields.
- You can also double click each of the records to perform the above selection.
- Click Next once the user finalizes the list of base views to be created for the selected entity.
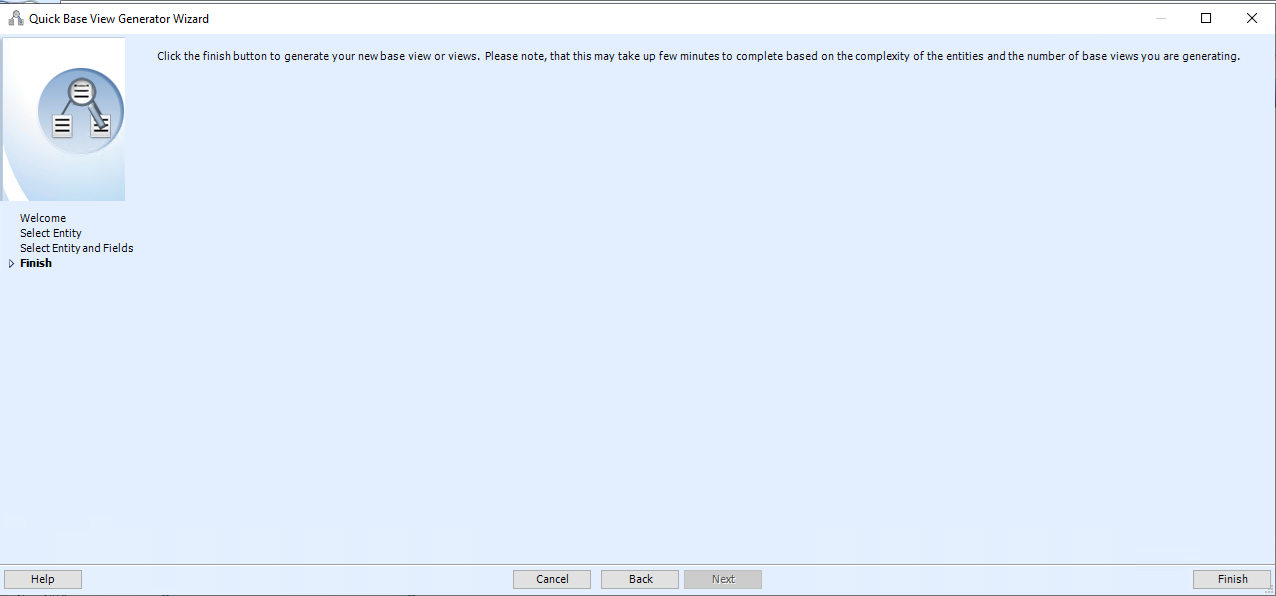
- Click Finish to complete the wizard.
Once the wizard is successfully completed, it will open a new ‘Quick Base View Wizard’ record, for users to view the base view creation options selected. - Confirm the selection and close the record.

- Further Detail configuration changes for the base view can be done from the respective entity’s Base view tab.
This wizard may take few minutes to process the request based on the complexity of the entities and the number of base views to be created.