Global View Creation Support
- Former user (Deleted)
Many associations don’t want their staff users to keep creating their own views but to use the standard consistent set of views defined for their departments. The current challenge with older versions of Aptify is that one person needs to own the views and then share it. Then the next person needs to know which entity the view is created on, connect to that folder. If multiple people have multiple shared folders – it is very complicated for the end users.
The Global View Support feature will now provide a facility for department heads to create dashboard parts where all the commonly shared global views can be placed. The other members of the department can then have this default dashboard from where the shared views can be used by all members having access to the dashboards.
Follow the instructions given below to configure global views:
- Configure View Summaries entity and View Summary record
- Configure View Summary record in Custom Dashboard
Configure View Summaries entity and View Summary record
- Login to SmartClient using Admin credentials.
- Go to Framework > Entities.
- In the Entities service, search for
ViewSummariesentity. - Open ViewSummary entity. Record the EntityID.
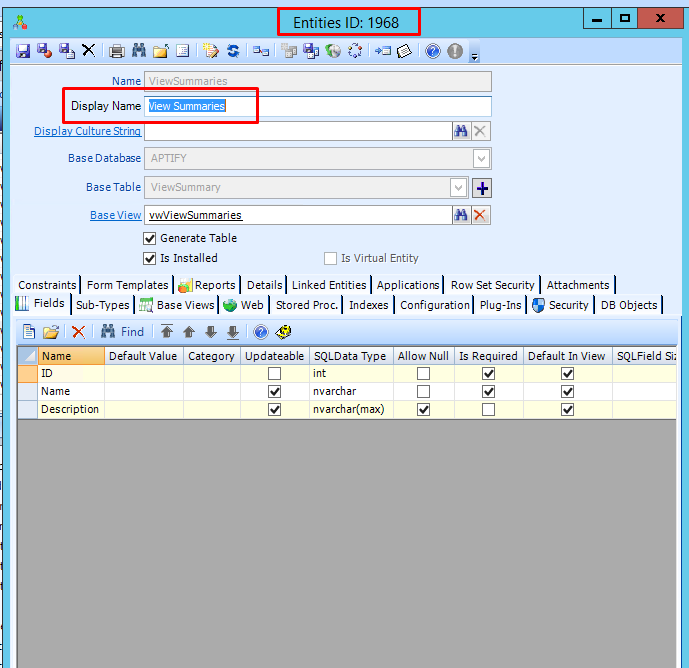
- Go to the Applications tab > select Customer Management application (You can select the application as per requirement).
- Save and Close the entity record.
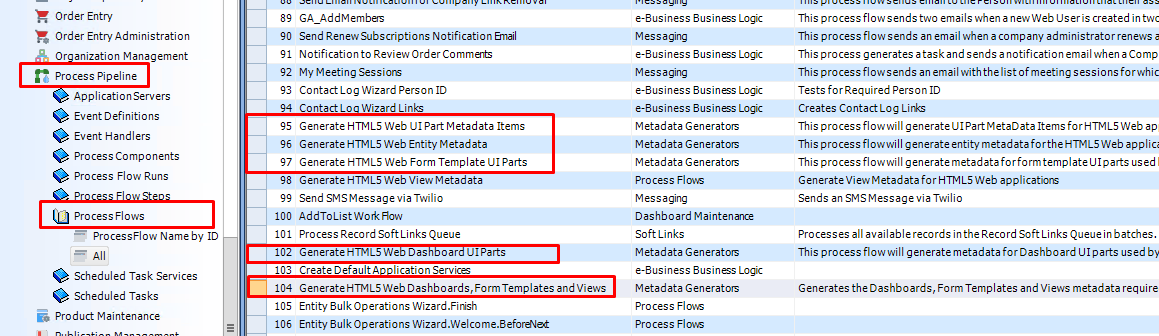
Run the Process Flows given below against appropriate View Summaries Entity ID (recorded in step 4 above).
- Reset IIS to reflect changes on the corresponding Aptify Web application.
- Login to Smart Client as a normal user.
- Go to Customer Management. Configure View Summaries through application services.
Go to Customer Management > Click on View Summaries services.
Create All List View.
Open the All View.
Click on New Record.
- Enter a name for View Summaries record.
.png?version=1&modificationDate=1621546047833&cacheVersion=1&api=v2&width=300&height=298)
Go to View Summary views tab and Create a new record for View Summary views or create a new category.
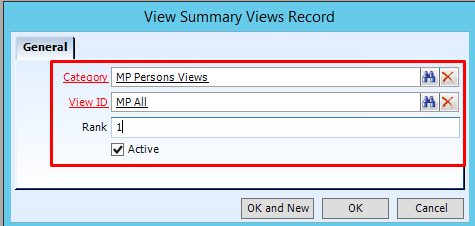
- Add an existing category or create a new category.
- Enter View ID.
- Add Rank. (This field is optional)
- Select Active checkbox.
Click OK.
In this way, you can configure or add multiple views by creating a new view summary views record, adding new categories (appears in sections wise). Also, you can rank the records and categories accordingly. You can also update or delete the record by having appropriate users permission on the View Summaries Entity.Click Save to save the View Summaries record.
Note: Note down the View Summary record ID.When clicked on view linked it should navigate to that view page.
Configure View Summary record in Custom Dashboard
For creating custom dashboards you can go to Home or any other applications as per your requirement.
Go to any Dashboard > Options > Click New Dashboard.
The New Dashboard options window appears.Enter Dashboard Name.
- Click OK.
Again click on Options > Edit Dashboard created in the above step.
- Go to the Layout tab.
Click on Add Area.
In the New Dashboard Area window, enter area name, enter appropriate position and size of the area from position and size tabs.
Click OK.
The area gets created and displayed with its name > click on its options link.
Click Add Part.
In Dashboard, enter the name, check area name is auto-populated correctly, select component as '
View Summary' from the drop-down.Click on the properties tab.
Go to InputProperty tab, '
ViewSummaryID' record is displayed, open the record, select source type as a static value, enter source as view summary ID.Click OK for dashboard parts windows.
Click OK for dashboard options window.
Note: View Summary ID which was noted above enter the same ID over here.Custom Dashboard gets created which looks like this on SmartClient.
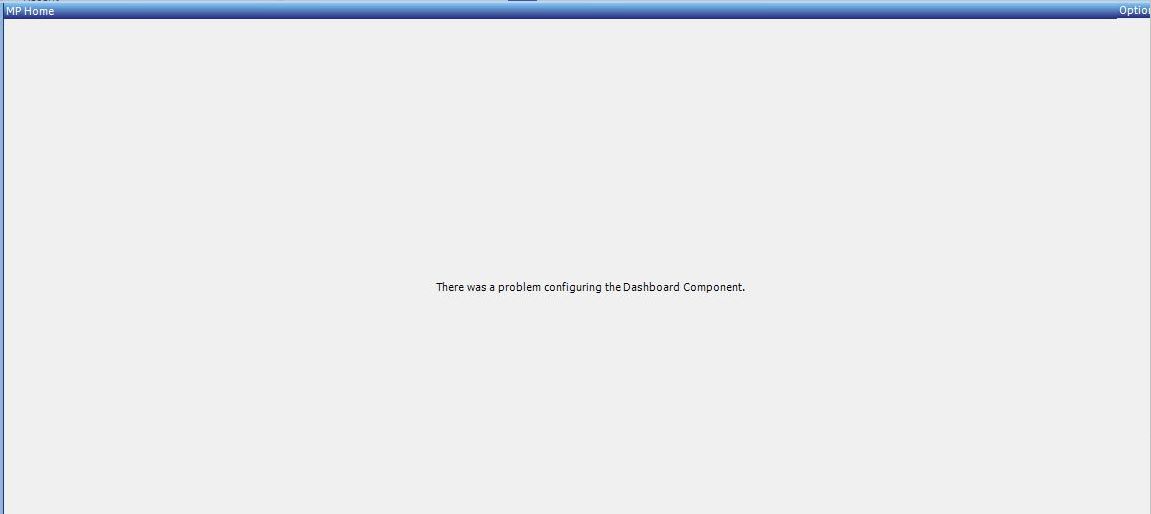 Note: Global View Support is given only for Aptify Web and not for Smart Client, so the display of Dashboard appears with a configuration message.
Login into Aptify Web with the same user.
Navigate to the application where the Custom Dashboard is created.
Open the Custom Dashboard.
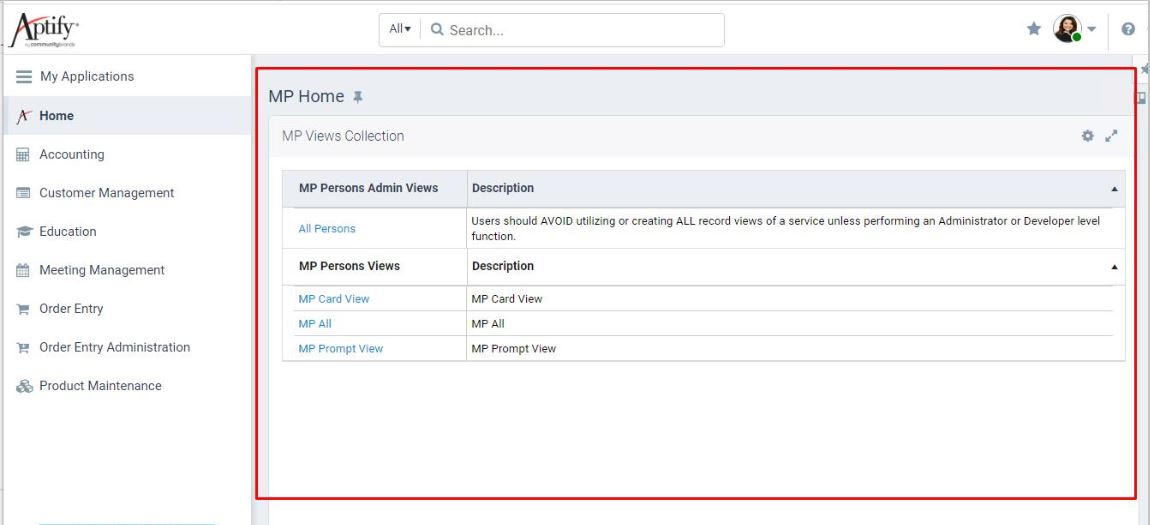
You can see global views are displayed as per View Summary Views Record and View Category record configured.
When clicked on views hyperlink then it should navigate to that view page.
- Multiple users under the same department can now set the dashboard with global views as their default dashboard and access the views directly.