Writing an Entity Action Wizard
The following steps provide an overview of how to write a new code-based wizard for Aptify:
If using the template provided by Aptify for this project, configure the template as described in Loading the Sample Code and Templates, rename the project and form class, and skip to Step 5
- Open a new Class Library project in Visual Studio.
- Select Project > Add Windows Form... from the Visual Studio menu to add a Windows form to the project. (You can delete the default Class file, if desired).
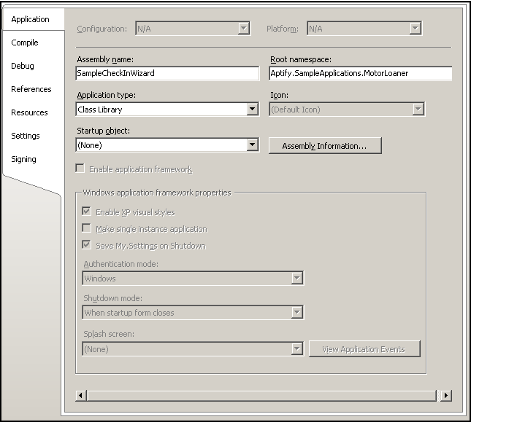
- Configure the Properties for the project.
- When assigning an assembly name for this object, use this format: [Descriptive Name]Wizard (remove spaces in the name)For example: SampleCheckInWizard (as shown below).
- Specify a root namespace for your project. For example: Aptify.SampleApplication.MotorLoaner, as shown below.
- Click the References tab in the Properties page and add a reference to the following Aptify objects:
- AptifyApplication
- AptifyAttributeManagement
- AptifyExceptionManagement
- AptifyGenericDataServices
- AptifyGenericEntityBase
- AptifyObjectRepository
- AptifyUtility
- AptifyWindowsControls
- AptifyWizardControl
- AptifyWizardSteps
IAptifyDataServices
References to the following Microsoft Objects should already exist in the project: System, System.Data, System.Drawing, System.Windows.Forms, and System.Xml. You can find the Aptify objects in your Aptify Windows application's C:\Program Files\Aptify 5.5 directory.
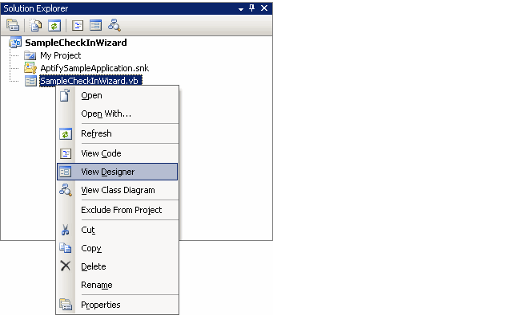
- Open the Form in Design mode (for example, right-click the form in the Solution Explorer and select View Designer from the pop-up menu).
- Review the available controls in the toolbox and add any other controls you might need in the wizard.
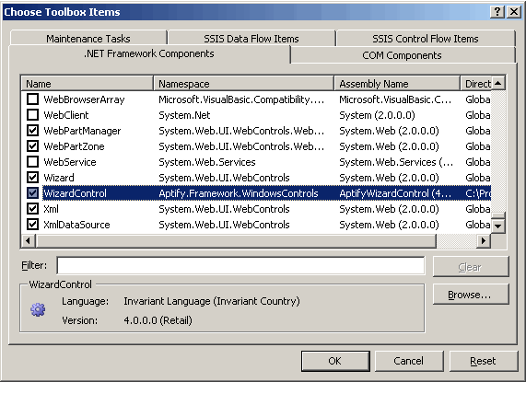
- To add new controls to the toolbox, select the Tools > Choose Toolbox Items... option from the Visual Studio menu and then browse to the appropriate .NET control files. Aptify controls can be found in the C:\Program Files\Aptify 5.5 directory.
- When designing a wizard for Aptify, you should select the AptifyWizardControl assembly to add the Aptify Wizard Control to the toolbox.
- If you plan to use the Step control to generate and display the steps in your wizard, add the AptifyWizardSteps assembly.
- If you plan to use any of the Aptify Windows Controls, such as a Link Box, add the AptifyWindowsControls assembly. Note that using Aptify Windows Controls may also require a third-party control. See Determine Whether You Need Third-Party Controls for details.
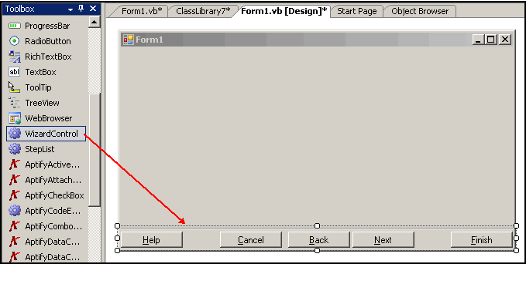
- Select the Wizard Control from the toolbox and dock it to the bottom of the form.
- Configure the properties for the Wizard Control as necessary in the Properties pane.
- Add a Panel Control for each page of the wizard.
- Add all of the appropriate controls for each page of the wizard.
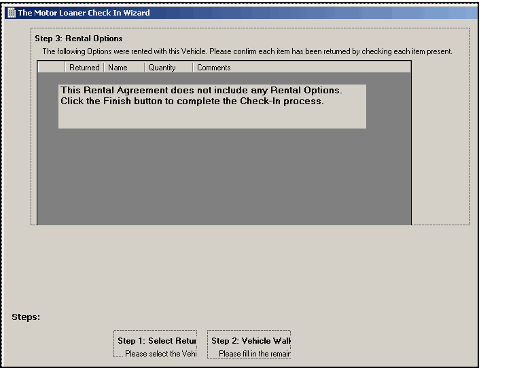
- The following figure illustrates the appearance of the Check-In wizard in Visual Studio Design mode.
- The following figure illustrates the appearance of the Check-In wizard in Visual Studio Design mode.
- When finished designing the UI for the wizard, right-click the form class in the Solution Explorer and select View Code from the pop-up menu to open the code.
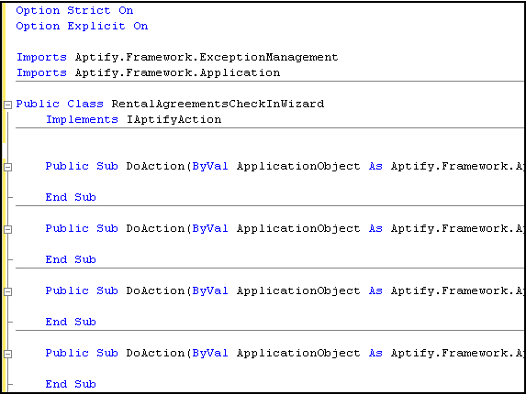
- Add Option Explicit On and Option Strict On at the top of the class file (as described in Use Option Explicit and Option Strict).
- Import the following namespaces:
- Aptify.Framework.ExceptionManagement
- Aptify.Framework.Application
- Define the name for your class (typically this is Public Class [Wizard Name]Wizard).
- Add Implements IAptifyAction below the class name.
- Define the DoAction method and other code to manage the Wizard control and other control interactions. Also, add any necessary helper functions.
- The DoAction method is responsible for executing whatever code is placed in the function. In most cases, a developer will construct a set of private functions within the same class to accomplish the objectives of the wizard.
- Review the source code for the Check-In and Check-Out wizards for examples.
- If creating a separate class for the wizard's logic, add code to call the wizard object for step validation, data retrieval and final step operations. Then, write the wizard object to perform the desired operations.
- See Separate UI from Logic for Wizards for a discussion of this option.
- See Separate UI from Logic for Wizards for a discussion of this option.
- Build, test, and sign the assembly. See Best Practices When Writing Code for Aptify for details.
See Adding a Code-Based Wizard to Aptify for instructions on how to add the wizard as an Entity Action.
The SampleCheckOutWizard project is configured to use Delayed Signing for illustration purposes. If you recompile the Check Out wizard's assembly for testing purposes, you need to sign the assembly with the sample application's private key or turn off verification for that assembly. See Strong Name Verification in the Sample Application for details.
Copyright © 2014-2019 Aptify - Confidential and Proprietary
