Create A Service Process Flow
- admin (Deactivated)
When you need to execute a Process Flow via Aptify Web Services, you first need to expose it as a Service Process Flow.
Step-by-step guide
- Create a Service Process Flow (in the Web Services application):
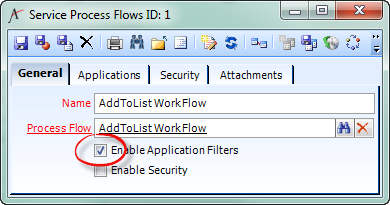
Name: The name to use when accessing the Service Process Flow. Generally this will be the same as the name of the Process Flow.
Process Flow: The Process Flow you want to expose to the Services layer. Choose whether to apply Application Filters to the Service Process Flow. This will restrict use of the Service Process Flow to a particular Service Application.
As of Aptify 5.5.4, Service Process Flows must be associated with a Service Application.
- To apply Application Filters, select the Enable Application Filters option on the General tab:
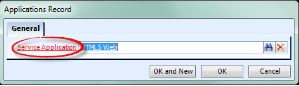
- Then add at least one Service Application on the Applications tab:
- To apply Application Filters, select the Enable Application Filters option on the General tab:
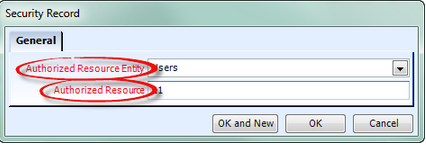
Choose whether to apply Security to the Service Data Object. This will restrict use of the Service Data Object to the chosen Users, Groups, and/or Web Groups.
You will have to know the ID of the User, Group, or Web Group you want to allow.
To apply Security, select the Enable Security option on the General tab:
Then add at least one Security record on the Security tab:
Your Service Process Flow is now created, allowing you to execute the Process Flow via the Aptify JavaScript API.
As of Aptify 5.5.4, when you create or update a Service Process Flow, you must restart Web Services for the changes to be incorporated into the system.
Related articles
Copyright © 2014-2017 Aptify - Confidential and Proprietary