/
Working with Gantt Views
Working with Gantt Views
- See Editing a View for information on how to edit an existing Gantt view's properties.
- See Copying a View for information on how to copy a Gantt view.
- See Printing a View for information on how to print a Gantt view.
- See Opening Multiple Views for information on how to open a Gantt view in a new window.
- See Using Folders and Sharing Views for information on creating folders for your views and sharing them with other users.
- See Sorting Views and View Folders in a Service for information on creating and loading view templates.
- Each Gantt view has a toolbar across the top of the view with three buttons:
- New Record: Open a new record directly from the view.
- View Properties: Open the view's Properties dialog.
- Refresh: Click this button to manually refresh the view's contents.
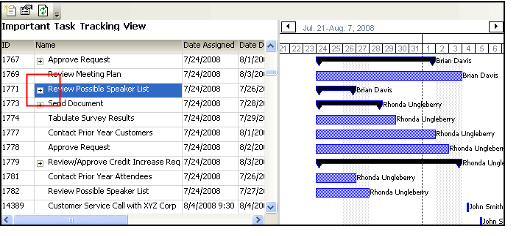
- To open the corresponding record for an item in a Gantt view, double-click within the record's row in the Task list on the left side of the Gantt view.
- Within the Gantt view, items are sorted based on the parent (child items appear below their parent) and then by Start Date.
- If items are grouped together based on a parent-child relationship, you can collapse and expand a parent tree by clicking the plus/minus sign to the left of the parent item. The child item's corresponding bars in the chart also collapse or expand as applicable.
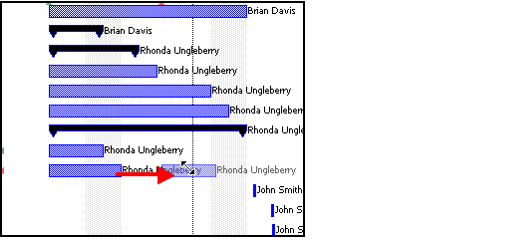
- In the time series graph on the right side of the Gantt view, you can move items to a new date and/or time by selecting the item and dragging it to a new location within the chart. This automatically updates the Start Date field in the record.
- You can change an item's duration by expanding or contracting the width of the item within the chart. This change is persisted to the record. Note that for views that use standard duration, you cannot change the duration of an item.
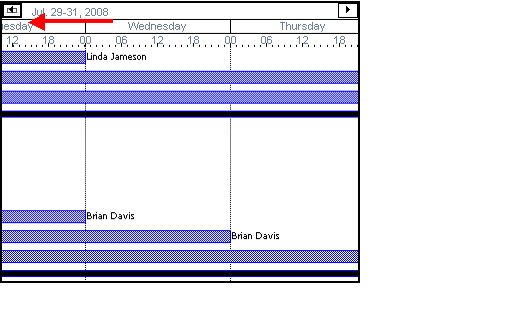
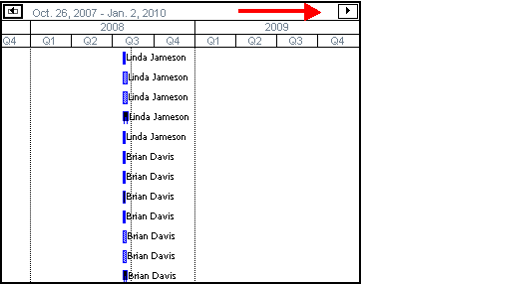
By default, the chart displays a time period of 15 days, starting with the earliest start date for the records in the view. However, you can scroll to different dates by using the arrow keys at the upper left and right-hand side of the chart. You can also zoom in or out of the chart to see more days or fewer days, by positioning your mouse in the date area at the top of the chart, holding down the left mouse button, and dragging to the left to zoom in (from weeks to days to hours, as shown in first figure below) and right to zoom out (from weeks to months to years, as shown in the second figure below).
From Weeks to Days to Hours From Weeks to Months to Years
, multiple selections available,
Copyright © 2014-2019 Aptify - Confidential and Proprietary


